Freightliner Cummins 6.7 Fan Hub Bolt Failure: Complete RV Repair Guide
Read full question
I'd really appreciate some guidance on what I should be doing to prevent this from happening again. Are there specific maintenance steps I should be taking? Should I be checking these mounting bolts regularly, and if so, how often? I've also heard something about using different grade bolts or thread locker - is that something I should consider?
Any advice on preventing this issue would be incredibly helpful. I'd really like to get some supporting documentation to help me potentially get Freightliner to address this recurring problem.
Quick Answer
The Cummins 6.7 fan hub bolt shearing is a known issue on Freightliner chassis motorhomes. Prevent it with regular bolt inspection, red Loctite, proper torque, and upgraded Grade 12.9 hardware.
Bottom Line Up Front
SAFETY WARNING: Before beginning any repair work, disconnect the negative battery terminal and allow the engine to cool completely. Hot coolant and moving parts can cause serious injury.
Your Winnebago's Freightliner chassis with the Cummins 6.7 has experienced a known pattern failure where the fan hub mounting bolts shear due to inadequate design and material fatigue. While this is indeed a widespread issue affecting many owners, Freightliner has not issued a formal recall despite documented cases spanning multiple model years. To build your case for warranty consideration or potential legal action, you'll need to document this as a safety-related defect and gather evidence of similar failures. The typical repair cost ranges from approximately $800-1,200 including parts and labor (costs may vary by region and shop), but given the pattern nature of this failure, you have grounds to push for manufacturer responsibility.
Root Causes
Common causes of fan hub failure on your Freightliner chassis include several design deficiencies that create a perfect storm for bolt failure. The original mounting bolts (typically Grade 5 bolts with adequate tensile strength but limited fatigue resistance under dynamic loading conditions) are often undersized for the dynamic loads and vibration stresses they encounter, especially when combined with the weight and rotational forces of the cooling fan assembly. The bolt material experiences metal fatigue from constant flexing under engine vibration and thermal cycling.
Additionally, the fan hub design creates stress concentration points where the bolts attach, and inadequate torque specifications or improper installation procedures compound the problem. Many failures reportedly occur between 80,000-150,000 miles according to owner reports, which suggests this is a wear-related design flaw rather than a random component failure. The aluminum fan hub material can also contribute to galvanic corrosion when paired with steel bolts, weakening the connection over time.
Environmental factors like road salt, temperature extremes, and vibration from rough roads accelerate the deterioration process. The location of the fan hub makes it particularly vulnerable to road debris and corrosive elements, while the constant on-off cycling of the engine cooling fan creates additional stress on the mounting hardware.
Before You Start
SAFETY WARNING: Ensure the engine is completely cool and the cooling system is depressurized before beginning any inspection or repair work. Disconnect the negative battery terminal to prevent accidental fan engagement.
Before pursuing warranty claims or legal action, document everything thoroughly. Take detailed photos of the failed components, especially the sheared bolts and any damage to surrounding components. Request copies of all repair documentation from your current shop, including part numbers, labor codes, and detailed descriptions of the failure mode. This creates an official record that can support your case.
Research and compile evidence of similar failures by searching RV forums, NHTSA complaint databases, and manufacturer service bulletins. The NHTSA website allows you to file a safety-related defect report, which becomes part of the public record and can trigger investigations if enough reports are filed. Search for Technical Service Bulletins (TSBs) from Freightliner that may acknowledge this issue without calling it a recall.
Contact Freightliner customer service directly to report the failure and request warranty consideration, even though your 2008 is likely out of warranty period. Explain this as a safety-related defect that could cause engine overheating and potential fire hazard. Document all communications with dates, representative names, and case numbers. Consider consulting with an automotive attorney who specializes in lemon law or defect cases, as they often work on contingency and can advise on the strength of your case.
Gather maintenance records showing you've properly maintained the cooling system, as manufacturers often try to blame failures on poor maintenance. Having documented proof of regular service helps establish that this is a design defect rather than neglect.
The Repair Process
The repair process involves replacing both the failed fan hub assembly and upgrading the mounting hardware to prevent future failures. Your shop should install a new fan hub assembly (correct part for your model - verify with dealer) along with upgraded Grade 8 bolts (featuring higher tensile strength and improved fatigue resistance through superior heat treatment and alloy composition) and proper thread-locking compound. Some shops recommend going to a slightly larger bolt diameter if the hub allows (requiring professional machining of aluminum components), or using stainless steel hardware to prevent corrosion.
The labor typically takes 4-6 hours including system diagnosis, removal of damaged components (with proper support of the heavy fan assembly to prevent injury), cleaning of mounting surfaces, and proper installation with correct torque specifications. The fan shroud and cooling system components should be inspected for damage caused by the hub failure, as flying debris can damage radiator fins or puncture hoses. Your shop should also check the engine cooling fan motor and blade assembly for damage or imbalance.
Proper installation requires torque to manufacturer specifications and the use of thread-locking compound rated for high-temperature applications. The mounting surface should be cleaned thoroughly and inspected for cracks or distortion before installing the new hub. Some experienced shops recommend applying anti-seize compound to prevent future corrosion issues.
After repair, the cooling system should be refilled and properly bled of air, then pressure tested and the engine should be run through complete heat cycles to ensure proper fan operation and cooling performance. Request that your shop document the installation procedure and torque specifications used, as this information may be valuable for future warranty claims if the upgraded repair fails.
Professional Help Needed
Given the pattern nature of this failure and potential safety implications, consider engaging a qualified automotive attorney who specializes in defect cases or lemon law. Many attorneys will review your case for free and work on contingency if they believe you have a strong claim. They can help determine if joining a class-action lawsuit is appropriate or if pursuing individual action makes more sense.
Contact the National Highway Traffic Safety Administration (NHTSA) to file a safety-related defect report online at safercar.gov. While individual reports may not trigger immediate action, they become part of the database used to identify patterns that may warrant investigation or recall. The more reports filed on this specific issue, the more likely regulatory attention becomes.
Consider hiring an independent mechanical expert to document the failure mode and provide professional opinion on whether this represents a design defect. This expert testimony can be valuable in warranty disputes or legal proceedings. Look for certified mechanics with specific experience in commercial vehicle or RV applications who can speak authoritatively about industry standards and proper design practices.
Engage with RV owner groups and online forums to connect with other owners experiencing similar failures. Collective action often carries more weight with manufacturers than individual complaints. Document other cases you find, as this establishes the pattern nature of the defect and strengthens your position that this should be a manufacturer responsibility rather than normal wear and tear.
Tools & Supplies You'll Need
 CRAFTSMAN 230 Pcs Mechanics Tool Set, Socket Wrench Set, Car Tool Kit with
A broad SAE/metric socket-and-ratchet set covers most RV fasteners. View on Amazon →
CRAFTSMAN 230 Pcs Mechanics Tool Set, Socket Wrench Set, Car Tool Kit with
A broad SAE/metric socket-and-ratchet set covers most RV fasteners. View on Amazon →
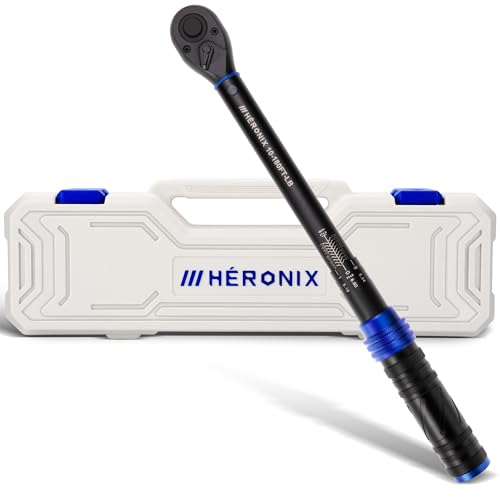 HERONIX 1/2 Inch Drive Click Torque Wrench, 10–180 Ft.Lb/13.6–244.0 Nm
Click-type wrench for lug nuts and anything with a torque spec. View on Amazon →
HERONIX 1/2 Inch Drive Click Torque Wrench, 10–180 Ft.Lb/13.6–244.0 Nm
Click-type wrench for lug nuts and anything with a torque spec. View on Amazon →
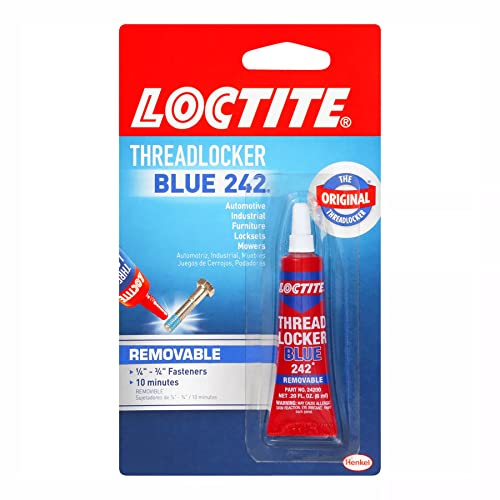 Loctite Threadlocker Blue 242 - Removable Thread Lock Glue for Nuts, Bolts, &
Keeps vibration from backing out critical bolts. View on Amazon →
Loctite Threadlocker Blue 242 - Removable Thread Lock Glue for Nuts, Bolts, &
Keeps vibration from backing out critical bolts. View on Amazon →
Still need help? Ask an RV Mechanic
Get a personalized answer from a verified RV mechanic. Describe your specific issue and get step-by-step help for your rig.
Related Repair Guides
- Newmar Motorhome Rough Ride Fix: Suspension & Air Pressure
- Ford E450 V10 Reliability: Expected Mileage and Longevity Guide for RV Owners
- Ford V10 Triton Engine Maintenance Guide: EGR Delete vs Regular Service Tips
- Ford V10 Turbo Kit for Motorhomes: Cost, Risks & Better Alternatives
- Ford E450 Inertia Switch Location Guide - Find Your RV's Fuel Cutoff Reset Point
- Onan 5500 Generator Problems: Complete Repair Guide
- Fleetwood Excursion Tire Upgrade Guide: 255 to 275 Width Conversion
- Ford F53 7.5L RV Won't Start: Fuel Pump Relay Voltage Drop Fix
- Michelin RV Tire Problems: Complete Guide & Solutions
- Generac 7.5kW Diesel Generator Repair Guide - RV Troubleshooting
Need More Help?
Try our free RV calculators and tools to help diagnose and plan your repairs.
Browse RV ToolsWeight calculator, electrical planner, propane estimator & more
